Ultimate React Native Component Libraries for Building Mobile Apps!


In recent times, the React Native framework has become the most talked-about mobile application framework. React Native UI libraries that this framework offers expedites the development cycle to a great extent as they include many components that the app can readily use. These are tried and tested by several React Native development companies and have been the favorite of developers across the globe, thereby resulting in worldwide adoption across various development communities.
This blog outlines the most commonly used React Native UI component libraries. Do try them for your next app development project. Let’s run through them.
The Best React Native UI Libraries to consider in 2021
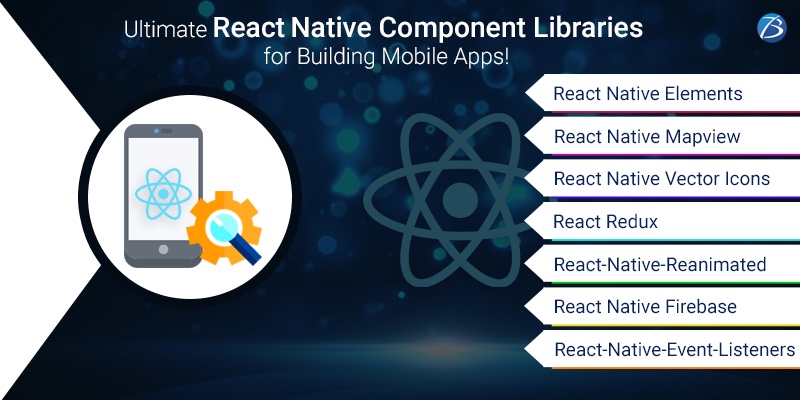
React Native Elements
Being one of the most popular and easiest component libraries, ‘React Native Elements’ is known for providing a consistent look and feel to the apps. It is coded with native JavaScript. It does not follow an opinionated design system but provides a basic structure with its in-built components, making it a highly customizable cross-platform UI.
The packages from this library include several easy-to-use components like a badge, pricing, divider, overlay, platform-specific search bars, etc. Modifying or updating these components is easy because the props for all these components are present at one central location. In this library, the amount of boilerplate code to be written is comparatively reduced, as react native elements is based more on component structure than the actual design.
React Native Mapview
React Native Mapview provides map components for both iOS and Android platforms. The map style can be customized in several ways. The React Native developers can change the tracking location or the map view position, and also make any points clickable on Google Maps as desired. The zooming feature can be enabled to the specific coordinates or markers or it can be even animated. Markers can be dragged too on the map. The kit provides a wide range of component APIs like MapView, Callout, Marker, Polyline, Polygon, Overlay, Circle, etc.
React Native Vector Icons
This is an extremely useful library that contains a rich set of 3,000+ pre-made icons. These vector icons can be easily customized, extended, or styled to serve the needs of varying projects. It is being widely used in mobile apps as well as by other libraries like React Native Paper. It supports NavBar, Toolbar Android, TabBar, etc. with image sourcing and multi-styling fonts. This library is apt for logos, buttons, etc.
React Redux
Redux is a library that is standalone and can be used with any framework or UI like Ember, Vue, Angular, React, to name a few. React and Redux can be used independently or in combination. React Redux is made to work with the component model of React. If you outline how to get the values your components require from Redux, your component gets them as props. It creates a component which is a wrapper that manages the interaction logic with the store, so that it need not be written separately. It implements automatically complex optimizations from a performance perspective. If Redux is being used with UI Framework, one needs to use the “UI binding” library to connect Redux with the UI framework. React Redux is widely used to store and pass data.
React-Native-Reanimated
This library provides the API that makes the process of creating powerful animations very simple and easy. It gives a low-level abstraction to the animated library API which permits flexibility for interactions based on gestures and animations. Because of its declarative approach, it serializes the interaction in JavaScript and has the ability to recreate it in native iOS and Android.
React Native Firebase
This is the formally recommended collection of packages that enables React Native support to all the Firebase services for both iOS and Android. Firebase is a Backend as a service that provides great advantage to build mobile applications with React Native. React Native Developers with Firebase as backend, can build MVP as it keeps the application cost very low and application prototyping is also very fast.
React-Native-Event-Listeners
An event listener is a callback function that is called when an event object is created. This React Native Event Listener library allows the React Native Developers to add and manage the event listeners in React Native code. Event handling in React is more like inline JavaScript of previous years. React Native Elements can alternatively use event handling properties to respond to user inputs.
Additional Libraries
Other important libraries being used by React Native Mobile App Development Services are React-Native-SVG (to load SVG files, React-Native-Twilio-Video-Webrtc (for video calling), React-Native-photo-editor, React-Native-localize (for multiple languages supports), etc
Are You Interested in Building a Top-Class Website or Mobile App?
Final Words:
These are some of the finest React Native UI libraries handpicked for you. Even beginners can easily start working on them. The motive of these libraries is to accelerate your React Native App development process. Therefore, these libraries prove immensely beneficial to a React Native App Development Company to build outstanding robust apps for versatile projects.
Have you used any of these libraries in your projects? Please feel free to comment about your experience and any hurdles you face.

